Importing Existing Files into Lists
The Import functionality in itemized, text, or custom lists uses a general .csv import function used in other areas of the application to import existing data from a .csv file into your newly-created text, itemized, or custom list.
To import an existing list in .csv format into a text, itemized, or custom list:
- Open the form where you want to create the list with the imported data.
- Place your cursor field where you want to create the list and do one of the following:
- Click the Forms menu; then, select Lists; then, select the list type you want to create.
- Right-click; then, select the list type you want to create.
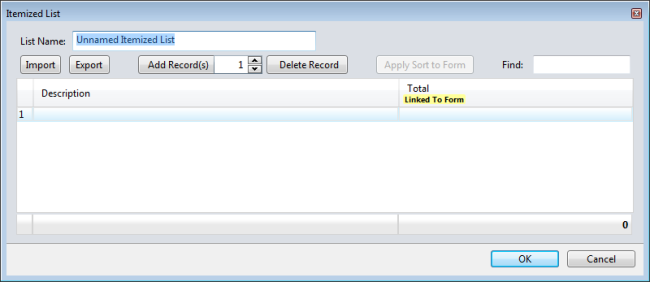
Itemized List dialog box
- Click the Import button in the upper left corner of your List dialog box.
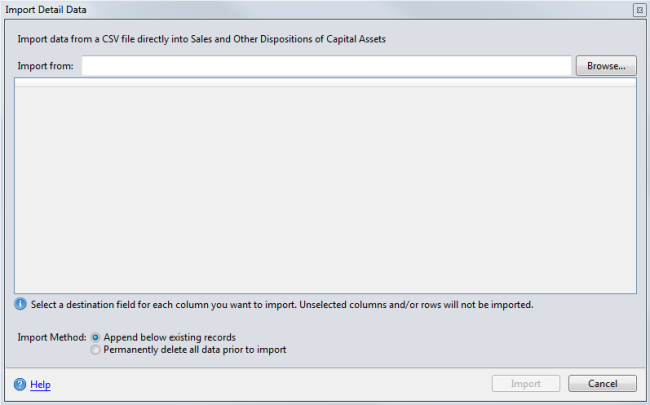
Import Detail Data dialog box
- To import the .csv file, click the Browse button.
The Open dialog appears.
- Navigate to the .csv file you want to import.
- Click Open.
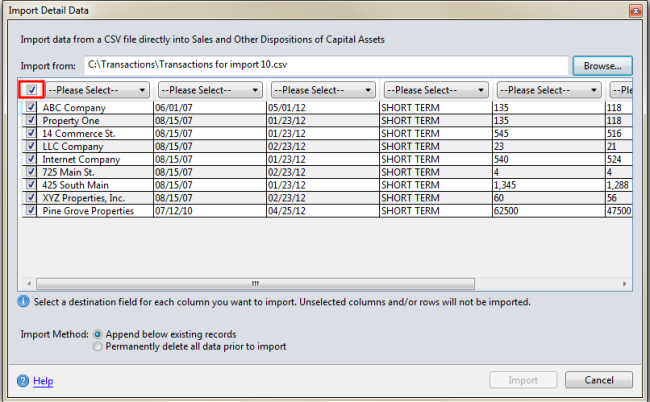
Import Detail Data dialog box
- Select the check box for any row of data you want to import. To select all rows, select the topmost check box (outlined in red).
- In each column header, click the drop-down arrow (beside "Please Select") and select an information type for that column of data.

For columns to which you cannot assign an information type, leave the program default (Please Select) or select Omit this column from the drop-down menu.
- At the bottom of the dialog, select one of the following Import Methods:
- Append below existing records - this option adds the import data you select.
- Permanently delete all data prior to import - this option deletes all the existing data and imports only the information selected here.
- Click Import.
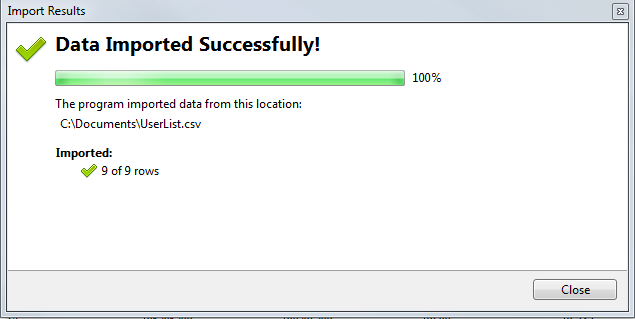
Import Results dialog box
- Click Close.
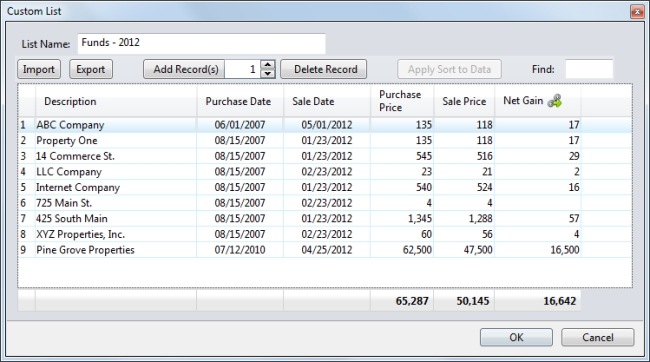
List dialog box, Custom List
See Also: